How To Take Picture On A Chromebook?
Proper Method To Take Picture On A Chromebook?
Do you want to click a picture on a Chromebook but don’t know how to do that? If yes then this guide is for you. Just because Chromebook is a budget device, so you will not find the best hardware support in most Chromebook devices.
But still, it is very useful for essential works like taking pictures and videos. Users can use the Chromebook’s webcam to capture pictures and videos.
GUIDE : How to install Microsoft Office Suite On Chromebook
How To Take Picture On A Chromebook?
Taking a picture on Chromebook is not a big task. For this,
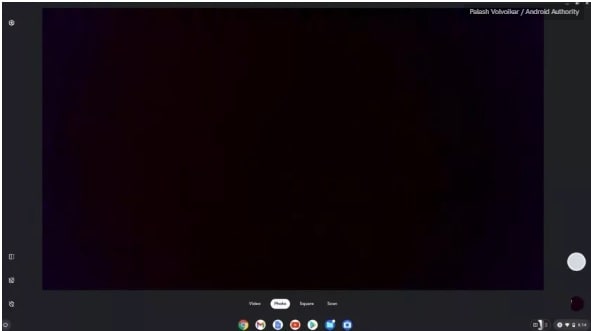
- Search for Camera App on Chromebook and launch it.
- Now use the “White button” to click a picture on the screen. Moreover, you can also click on Video for a video, square tool to take a square image, and Scan to scan a document or QR code.
- With the help of multiple cameras, users can also switch cameras easily. For better quality, click the “Settings icon” and customize the settings like resolution.
Where are my pictures stored on a Chromebook?
After taking pictures through the Camera application, you can find the saved images in the camera folder.
- Open the “Files” app.
- Find and click the “Camera” folder under “My Files”.
This is the way that can be used to take pictures on Chromebook and you can store them in the camera folder. Additionally, you can use the microSD card if you run out of storage. Otherwise, connect your Chromebook to your iPhone via USB cable and transfer the images from the files app.
How To Take Screenshot On Chromebook
The camera app is a perfect way to click snap on Chromebook. But if you want to know who to take screenshots on Chromebook then follow the below different methods. Probably, you may already know how to take screenshots on your phone and windows pc.
But if you are unable to click screenshot from Chromebook, we will tell you how to do that?
-
Take a Screenshot on Chromebook via Quick Settings
- Open the “Quick Settings” by clicking the clock on the right corner of the screen.
- Next, click the “Screen Capture” icon. Here you will see multiple options for different tasks.
- Full Screenshots – For full-screen screenshot, click “Ctrl + Windows”. Now press “Shift + Ctrl + Show windows” to access the captured screenshot on Chromebook.
- Partial Screenshot – Hold the “Ctrl + Shift buttons” and press the show screenshots. Now you will see a message “Drag to select an area to capture” and your cursor will change to a crosshair. After that, you can select the desired area that you want to capture.
- Windows Screenshot – Hold the “Ctrl + Alt” tab and press the show windows button to open the “Chrome OS Screenshot toolbar”. Just press the rightmost button from the three options. Now adjust the position of the icon over the window to take snap on Chromebook.
-
Take Screenshots On Chromebook using the Screen capture Toolbar
With the help of the screenshot capture toolbar, you can easily take full or partial screenshots on Chromebook. Additionally, users can record the active movement on the screen by toggling the button from still to video on the toolbar.
As we all know, it’s not it’s little bit tricky to download adobe reader on Chromebook to vie PDF file. Checkout the detail guide and learn how to do that?