How To Root Xaiomi Redmi Note 3 And Install TWRP Recovery Safely [Snapdragon Variant]
If you are uning Xaiomi redmi note 3 and want to get root access on your xaiomi redmi Note 3 then you are on right place. But before rooting it you have to know that which Redmi note 3 variant you are using right now. Because Xaiomi Redmi Note 3 comes with two different variant – one with Meditek processor and second with snapdragon. In this post will show you how to root Xaiomi redmi note 3 snapdragon variant.
But if you are using redmi note 3 Mediatek variant then don’t use this method and read our previous how to root redmi note 3 Mediatek variant in one click.
How to root Redmi Note 3 Meditek Version?
You have to unlock bootloader before rooting your Xaiomi Note 3.
Create backup of all data before root and install TWRP recovery.
Rooting your device will void phone’s warranty.
Wrong step or any wrong file may brick your phone.
NEW UPDATE: Redmi Note 3 MIUI 9.5.1.0 ROM Available To Download
How To Root Xaiomi Redmi Note 3 And Install TWRP Recovery Safely [Snapdragon Variant]
Basically we can divide this process into three parts.
- First Unlock bootloader of Xaiomi Note 3 Snapdragon Variant.
- Second you have to install TWRP recovery before rooting.
- Third- Flash supersu file to root Xaiomi Redmi Note 3 snapdragon.
Now follow all the steps one by one to root Xaiomi Redmi Note 3 Snapdragon variant safely.
Step01 Pre-Requirements
- Charge your phone aprox 80%.
- Enable USB Debugging of your phone.
Step02 Unlock Bootloader of Xaiomi Redmi Note 3 snapdragon variant.
How to unlock boolloader of Xaiomi android phone.
Step03 Download & Installation
- Download & install Minimal ADB fastboot tool on pc.
- Download & install ADB drivers on pc.
- Download & Install Xaiomi USB Drivers on pc for better result.
- Download TWRP Recovery v3 package For Xaiomi Note 3 snapdragon.
- Download latest supersu to flash with TWRP.
Step04
Install TWRP Recovery On Xaiomi Redmi Note 3
- Make sure usb debugging is enabled on your phone.
- Now connect the phone with pc via USB cable. Make sure ADB drivers and Xaiomi Note 3 USB drivers are already installed on pc.
- Now extract the downloaded TWRP v3 package file on pc.
- On your pc, open the Boot.bat file and follow the instruction.
- After completing the process, now click on TWRP.bat file and follow the instructions.
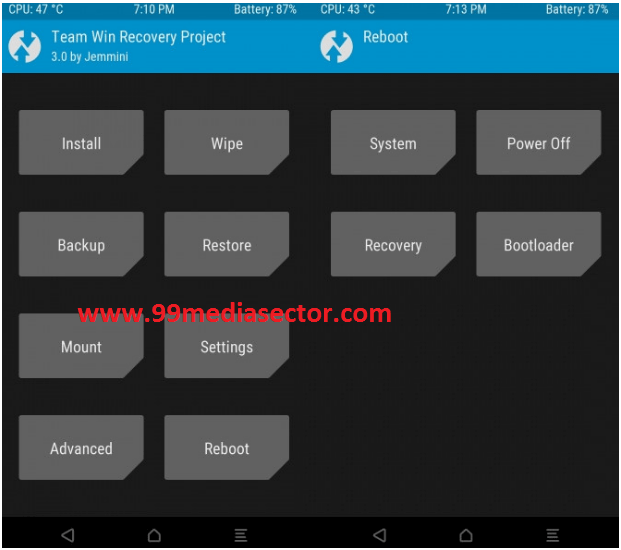
- After completing the process your phone will reboot and you will be into TWRP recovery.

- All Done!!! TWRP recovery has been installed on your Xaiomi Note 3.
Step 05
Root Xaiomi Redmi Note 3 Snapdragon Variant
After installing of TWRP recovery now you are ready to root Xaiomi Redmi Note 3 via Flashing SuperSu file.let’s start….
- Download the supersu file from step 03 and move it into phone storage.
- Now boot your phone into TWRP recovery.
- Now here select you time zone and language etc.
- Now go back to main menu and click on “Install” Button.
- Now browse the “supersu” file which is placed into your phone storage and “Swipe to confirm flash” and process will start.
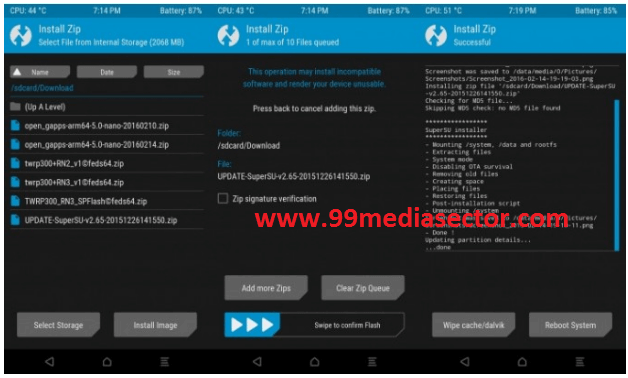
- After flashing supersu file now go back to main Menu and then select Reboot>>System
- Now wait to reboot your phone normally. It may take more time to reboot at first time.
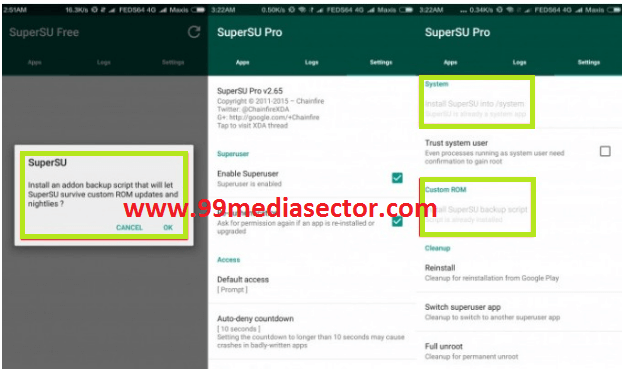
- Now download SuperSu app from play store.
- Open up SuperSU app then install an addon backup script that will let SuperSU survive custom ROM updates and nightlies.
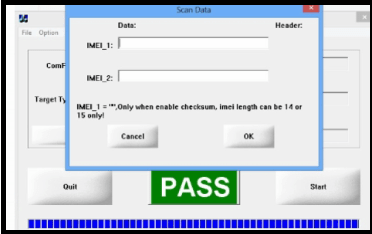
- All Done!!! Now you have rooted Xaiomi Redmi Note 3 in your hand with custom twrp recovery and you can flash custom ROM, can change IMEI number and can increase RAM etc.
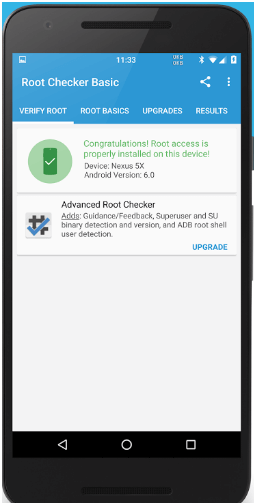
Step06 Check Root Status
After rooting your Redmi Note 3 now download and install Root checker app from PlayStore and check the root status.
Other Related Posts:
- How to unlock Bootloader of Xaiomi Android Phone?
- Download Xaiomi USB drivers For Pc?
- Download Xaiomi Flash Tool
- How to root Xaiomi Redmi Note 3 Mediatek version?
- How to install Xposed Framework on Xiaomi Redmi note 3?
Other Interesting Posts For Rooted Android phones
This is all about how to root Redmi Note 3 and install twrp recovery on redmi note 3 snapdragon version.now you are ready to install custom ROM, can change IMEI number, device id, Google ads id and also can increase internal storage, can increase RAM etc. if you feel any problem in this process or you have any quarry then feel free to ask us by leaving your comment.
 If you want you can follow us on our YouTube Channel [New Information Era] for more interesting videos & updates .