How to Add Active Directory Schema Snap-In
Step By Step Tutorial To Add Active Directory Schema Snap-In
Here is the point to point direct instructions to register Active Directory Schema MMC Snap-In (also known as the Schema Console or Schema MMC console). Probably, you may know that the Active Directory Schema Snap-In is not available in MMC by default.
Just because it’s not a default option, the Active Directory Schema MMC snap-in is not registered on domain controllers or machines with the RSAT installed. So you have to register the DLL, if you are going to use snap-in for the first time.
Step 01 DLL Register the Active Directory Schema MMC Snap-in [ Register schmmgmt.dll ]
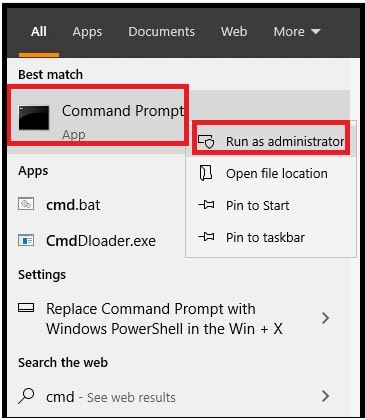
- Open an elevated command prompt on pc [ select the “START” button >>> Type “CMD”
- Next, run the “command prompt” as administrator. [ right click on “CMD” >>> select “Run as administrator ]
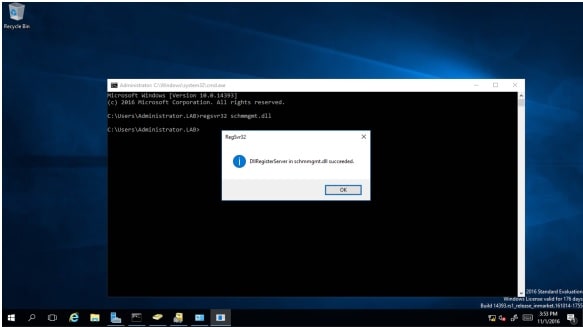
- Type the following command and hit enter key from keyboard.
regsvr32 schmmgmt.dll
- Now you should receive a success message that registration succeeded.
Step02 Add Active Directory Schema Snap In
Follow the above step01 to register the DLL and then you can go for next to add it to an MMC by following these steps.
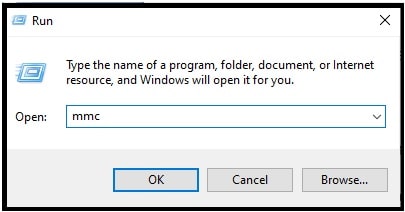
- Open a new MMC Console ( Start >>> Run >>> mmc). Otherwise, press the windows key + press “R” to open the “RUN” box and then type “mmc” >>> hit enter key.
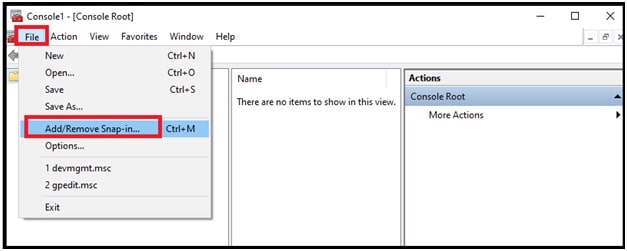
- The Microsoft Management Console opens in front of you.
- In the MMC Console, go to File >>>Add/Remove Snap-in
- Now, select the “Active Directory Schema“, then select “Add“ >>> then “OK“.
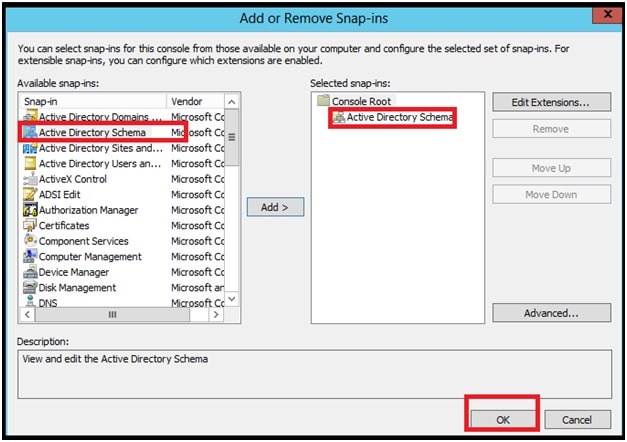
After applying the both steps properly, you will be able to access the snap-in through the MMC Console.
READ MORE : Install Active Directory Users and Computers Windows 10 & 8
This is all about how to add Active Directory Schema Snap-In using MMC console within 2 minutes. In order to use the snap-in for the first time on a new machine, register the DLL and then Active Directory Schema Snap-In easily. DLL registration is the most important step, for first time users.