Convert 404 Page With Beautiful Search Box In Blogger

I think you all know all about 404 page or Page Not Found errors. Blogger is not dynamic as wordpress and can’t compete with wordpress. But here in this post I will tell you how you can convert 404 page with beautiful search box in blogger? It is just as a custom redirection of 404 page.
If any user will click on your broken link or will enter any wrong URLs they will simply redirect on beautiful custom search box. From here user can navigate to your home page easily. Moreover the design of this custom search box is very cute it will give a great touch to fancy design to your blog. ok be with us to know all process.
How We Can Convert 404 Page With Beautiful Search Box In Blogger?
Step01
Login Blogger website with your username and password.
Step02
Go to your blogger dashboard.
Step 03
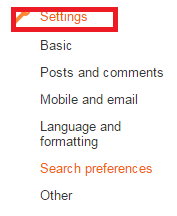
Click on Setting in the left side bar.
Step 04
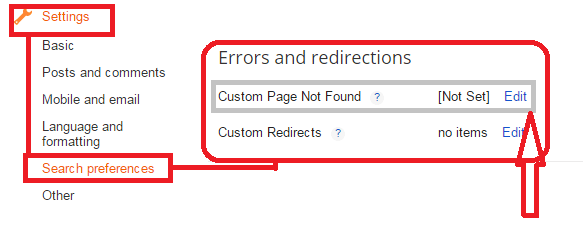
Now click on Search Preferences section.
Step 05
After click on Search Preference, move to right side and now click on edit in “Error and Redirections “section (Custom Page Not Found)
Step 06
Copy the below code and paste it in edit box.
<style>
#search-button-links1 {
position: relative;
top: 0;
right: 0;
height: 60px;
width: 580px;
font-size: 18px;
color: #000;
text-align: center;
text-decoration:none;
line-height: 42px;
border-width: 0;
background-color: #5caddf;
margin:5px;
cursor: pointer;
}
#search-box1 {
position: relative;
width: 100%;
margin: 0;
}
#search-form1 {
height: 40px;
border: 1px solid #999;
-webkit-border-radius: 5px;
-moz-border-radius: 5px;
border-radius: 5px;
background-color: #fff;
overflow: hidden;
}
#search-text1 {
font-size: 14px;
color: #ddd;
border-width: 0;
background: transparent;
}
#search-box input[type=”text”] {
width: 90%;
padding: 11px 0 12px 1em;
color: #333;
outline: none;
}
#search-button1 {
position: absolute;
top: 0;
right: 0;
height: 42px;
width: 80px;
font-size: 14px;
color: #fff;
text-align: center;
line-height: 42px;
border-width: 0;
background-color: #4d90fe;
-webkit-border-radius: 0px 5px 5px 0px;
-moz-border-radius: 0px 5px 5px 0px;
border-radius: 0px 5px 5px 0px;
cursor: pointer;
}
</style>
<div id=’search-box1′>
<form action=’/search’ id=’search-form1′ method=’get’ target=’_top’>
<input id=’search-tex1t’ name=’q’ placeholder=’ Search Here ‘ type=’text’/>
<button id=’search-button1′ type=’submit’><span>Search</span></button>
</form>
</div>
<p style=”color:#e33633; font-family:verdana, sans serif; font-size:16px; padding:24px; text-decoration:none”>This Page has been removed for safety purposes | Visit <a href=”http://yourname.blogspot.com“>99mediasector</a>
What Next?
Now it’s your turn. After applying the above code you just need to change highlight text according to you. The above code is just a chunk of code for CSS and below is 2 divs which will help to declare the search box area