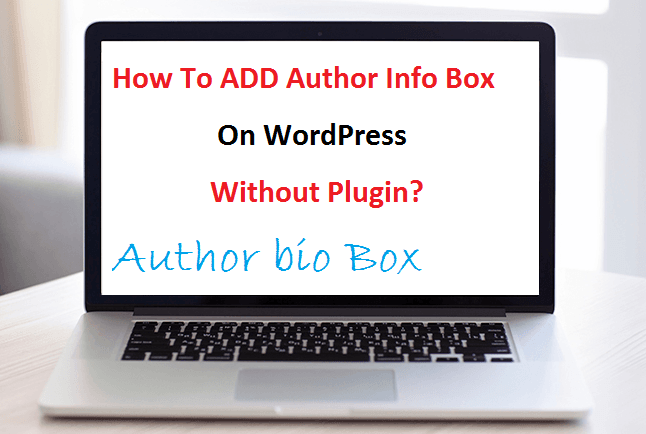
How To ADD Author Box In WordPress Website Without Plugin?
Are you finding a way to add Author box in wordpress website without plugin? If yes ,that means you are one of them who don’t want to depend on plugin for each and everything. Author info box in the end of every post is a popular trend for every blogger. By adding author bio info box on your site you can identically connect with your readers and also can inform who are you and what you do. It’s really cool.
You can add author info box by using plugin. It’s an easiest method, just download and install it. But as we all know numbers of plugin are not good for our site performance. It can increase our site loading speed and this loading speed can hurt many important factors. Site loading speed is a most important factor in SEO. So try to avoid plugin. Here I will show you how we can add Author box in wordpress website without pligin?
What Is Author Info Box?
If we try to define the definition of Author Info Box then we can say it’s a beautiful and smart way to tell your users, who are you and what you do?basically Author info box contains a picture and short profile description about blog owner or author.
Now comes to the point we are going to show you how to add author info or bio box in blog? Just follow the steps.
Step 01 – Create Gravatar.
Before adding an author box on your wordpress select your picture or photo which one you want to add in author info box. We will use Gravatar to display your image on author info box. It’s totally free service that allows you to add your email ID with Gravatar picture. In the same way this Gravatar picture will be appear when you comment on other wordpress blog.
Now click here and create free Gravatar account with your mail ID and upload your picture which you want to display. After uploading if you want you can change your picture again in future.
Step 02 – Edit or ADD Code In Style.css
Now open you style.css file and add the below code.
Code Is Here
#authorarea{
background: #f0f0f0;
border: 1px solid #d2d2d2;
padding: 10px;
width:500px;
overflow:hidden;
color: #333;
}
#authorarea h3{
font-size: 18px;
color:#333;
margin:0;
padding:10px 10px 5px 10px;
}
#authorarea h3 a{
text-decoration:none;
color: #333;
font-weight: bold;
}
#authorarea img{
margin:0;
padding:10px;
float:left;
border: 1px solid #ddd;
width: 100px;
height: 100px;
}
#authorarea p{
color:#333;
margin:0;
padding:0px 10px 10px 10px;
}
#authorarea p a{
color:#333;
}
.authorinfo{
padding-left:120px;
}
May be you need to change or modify the css file according the theme formatting. So backup is necessary before any changes.
Step 03 –Add Code In single.php
Ok after adding the above code in style.css now it’s the time to add below code. Open your single.php and grab the below code and add this code in your loop.
Code Is Here
<div id=”authorarea”>
<?php echo get_avatar( get_the_author_meta( ‘user_email’ ), 70 ); ?>
<h3>About <?php get_the_author(); ?></h3>
<div class=”authorinfo”>
<?php the_author_meta( ‘description’ ); ?>
<a class=”author-link” href=”<?php echo esc_url( get_author_posts_url( get_the_author_meta( ‘ID’ ) ) ); ?>” rel=”author”>View all posts by <?php get_the_author(); ?> <span class=”meta-nav”>→</span></a>
</div>
</div>
That’s it. Follow all easy steps one by one to add author box in wordpress and show up your profile picture with your short bio in front of your valuable visitors. So they can see your picture with bio in the end of every blog posts. There are so many method to get your profile picture but I always recommended you to use globally recognized Avatars,Gravatar.