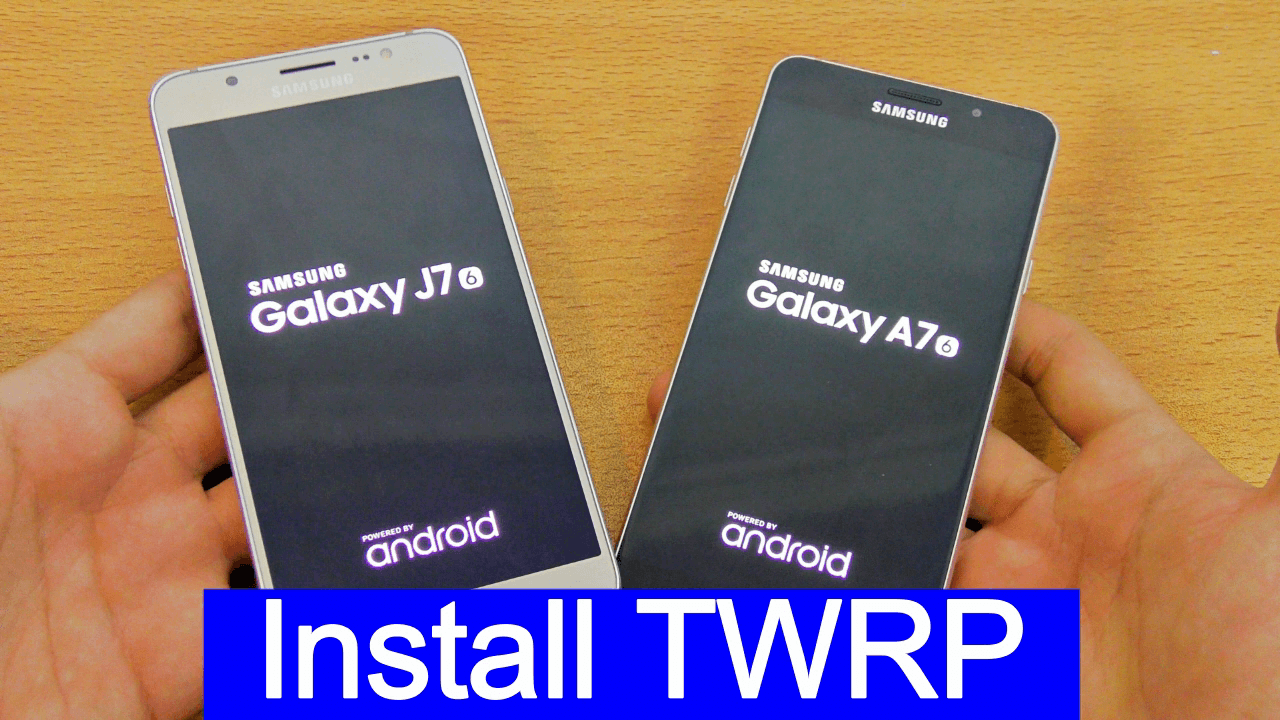
Install TWRP Recovery On Samsung Galaxy J7 Official
Read this post and Learn how to install twrp recovery on Samsung Galaxy j7 safely.As we all know by default all android devices or tablet comes with a stock recovery but if you are an advanced user and want to use your phone with full potential then you need to flash or install twrp recovery on your phone.because recovery is the only one method to access the hidden features of your phone.but stock recovery comes with various restrictions ,so your access will be limited.
So now its clear that if you want to get full access of your phone’s internal system then you need to flash custom recovery on samsung galaxy J7 .same as after flashing a custom recovery you can root your samsung galaxy j7 .
This post is only and only for samsung Galaxy J7.just download the twrp file and follow the step to install TWRP recovery on Samsung Galaxy J7 .its a official method and no need to root your phone for to install custom recovery on samsung Galaxy J7.
That’s why , if you want to improve performance and want to add customisation on your samsung J7 then replace Stock recovery of samsung galaxy j7 with custom recovery like TWRP recovery.
How To Install TWRP Recovery On Samsung Galaxy J7
Step01– Pre-Requirements
- Take backup of your phone .all user data ,app,messages and contacts etc will be delete in this process.
- Charge your phone properly .[aprox 70%]
- Download & install Odin on pc.
- Download & install Samsung Usb drivers on pc.
- Download TWRP zip file on pc.
Step02-Enable Usb Debugging & OEM unlock on Samsung Galaxy J7
- To enable developer option go to your phone setting>> About phone.
- Tab on build number option for 7 times .now you will get the message “you are now a developer”.
- Go back again and enter into the “developer”
- Now find the “USB debugging” option and enable it.
- Same as you will see the “OEM” option then enable it.
Step 03-Boot Samsung Galaxy J7 Into Downloading Mode
- Switch off your phone first.
- Now press & hold Power+Volume Down +Home key
- Here you will see a warning message on screen.
- Press Volume Up key for once.
- Now you you will be into “Downloading Mode” option.
Step04
- Now run the odin pc suite exe file.
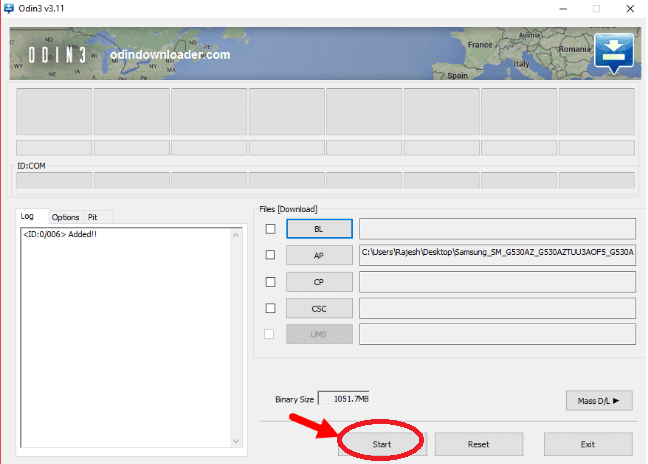
- Click on “AP” or “PDA” option and browse the twrp file.
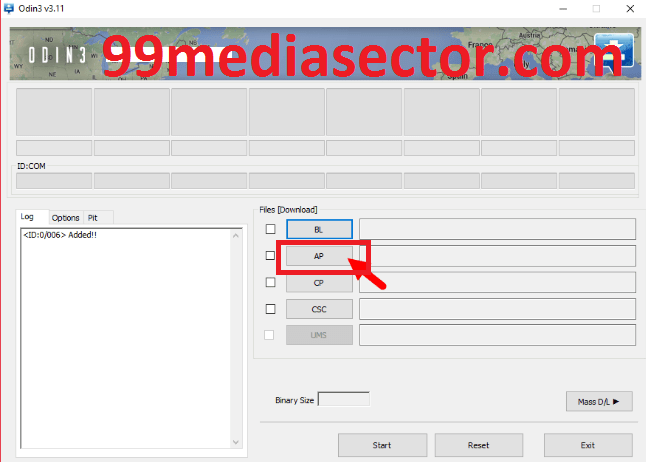
- Now connect the phone with pc via USB cable [make sure its into downloading mode]
- Now you will see the message “ID:COM: in odin that means phone is connected properly and you are ready for next step.
- Now click on “START” button and run the process.
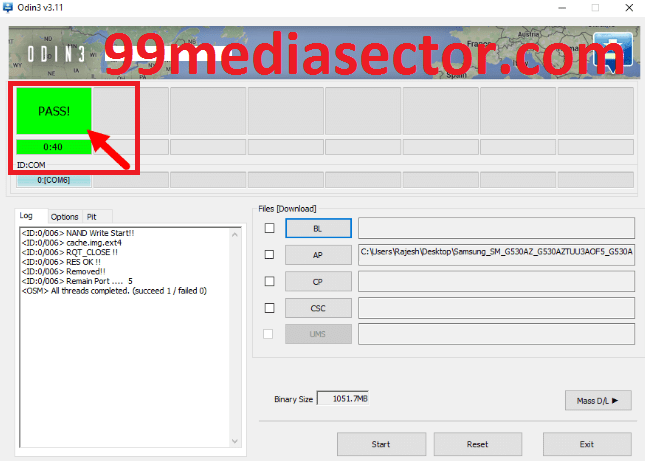
- If everything is OK then you will see a green “PASS” message on odin and TWRp recovery installed on your phone.
Now your Samsung galaxy J7 will reboot automatically ,if you are getting a bootloop then power off your device press & hold Volume Up +Home+Power key together and boot into recovery mode .select “wipe data factory reset” and “wipe cache partaion” and then reboot your phone again.
All done, now you have successfully installed official TWRP recovery on Samsung galaxy j7 safely.