How To Root Poco F1 With TWTP Recovery [Complete Guide]
How To Root Poco F1 With TWTP Recovery
POCO F1 TWRP Custom Recovery With Root Guide: Recently Xiaomi launched it’s sub-brand Smartphone – POCO F1 for Indian Market and POCOPHONE F1 for Global market. Just after it’s launching, brand out was of stock because of it’s high rich features and popularity. Basically Poco f1 is a gaming android device with latest liquid cooling system. That means, it will not heat up at the time of game play. So if you are one of them who are trying to search best gaming mobile, we recommend you to buy POCO f1 / POCOPHONE F1. Moreover, Xiaomi Poco F1 has fastest Snapdragon 845 processor [that powers the Samsung Galaxy S9, Samsung Galaxy Note 9 and Pixel 3 mobile]
After getting best reviews on YouTube about speed and performance, Poco F1 s garnering a lot of attention. If you have bought one, here is good news for you. Custom TWRP recovery for Poco F1 / Pocophone f1 IS available for all users. That means, you can root device safely by using custom TWRP recovery on POCO F1 MIUI 10/ MIUI 9.
If you are already an advanced android user and have enough knowledge about rooting then you can directly jump on Poco F1 twrp recovery installation and rooting guide but in case, it’s your first attempt or planning to root Xiaomi Poco F1 first time then you should know each and everything about it.
Custom twrp recovery will replace official stock recovery and then you are free to flash any third party flushable files like custom ROM, magsik, supersu, modified MIUI roms and xposed firmware for different android tricks & tips. Moreover, after root you can experience custom ROM features too.
But remember, rooting may void phone warranty or one wrong step may brick the device. If you are fine with it and still ready to root Poco F1 then just read the post below carefully and apply it on your own POCO device to get full root access.
***NEW*** : Poco F1 Mi Account Bypass
How To Unlock, Install TWRP Recovery & Root POCO F1
In order to root Xiaomi Poco F1, you have to unlock bootloader first. Once you have unlocked device in your hand, you are free to flash TWRP on Poco F1 and then root it easily. Poco F1 root guide is 100% working, tested and safe. So no need to worry about it’s stability.
- Unlock Bootloader Of Poco F1 within 5 minutes without permission.
- Flash TWRP recovery on Poco F1.
- Flash Root Files [Supersu or Magisk] to get root access.
Step By Step Tutorial To Root Xiaomi Poco F1/ POCOPHONE F1
[a] Unlock Poco F1 Bootloader Instantly [Official] [b] Flash TWRP Recovery On POCO F1 [C] Flash Magisk & Root POCO F1 Without Pc[a] Unlock Poco F1 Bootloader Instantly [Official]
Bootloader unlocking of POCO f1 must be your first step before applying customization. Because with locked bootloader, it will not allow you to make changes in system files. Read the below post and unlock bootloader of POCO F1 then return back here again to continue the next process.
[b] Flash TWRP Recovery On POCO F1
TWRP recovery installation is must to flash Poco Root files like magisk ip file or Supersu exploit. TwRp recovery flashing will replace default stock recovery with new custom twrp recovery and then you can flash magisk or supersu zip file easily. Official stock recovery can’t flash these third party zip files in any how condition, so it should be installed on your device to continue the root process.
Download TWRP Recovery For POCO F1 MIUI10/MIUI9
Un Official TWRP Oppo F1 : DOWNLOAD / MIRROR
Force encryption disabler File : DOWNLOAD
Minimal ADB & Fastboot Tool : DOWNLOAD
- First off download TWRP recovery [twrp-3.2.3.0-for poco f1.img] and Force encryption disabler file from above section.
- Connect the device with pc and move Force encryption disabler zip file into phone storage [internal or external]
- Now install “Minimal adb & fastboot tool” on windows pc by following guide. [It will install adb platform to run adb commands]
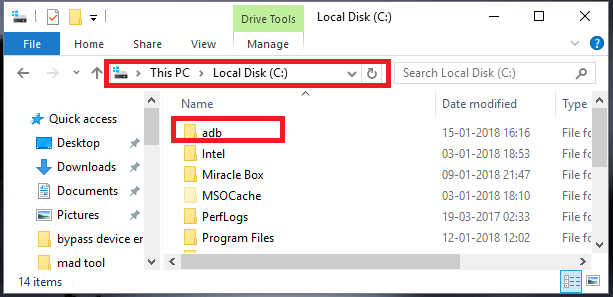
- Open adb folder location [My Computer >> C Drive >> ADB Folder]
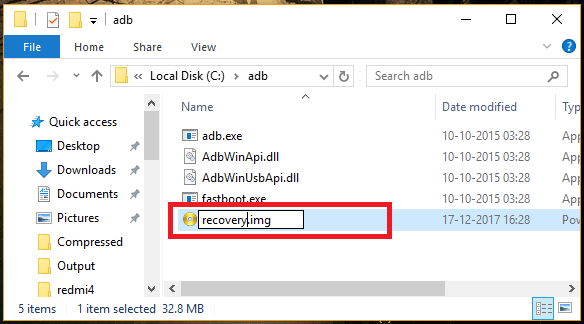
- Rename the downloaded twrp recovery [[twrp-3.2.3.0-poco f1.img] as recovery.img file
- Copy the recovery.img file and transfer it into “adb folder” location as shown below.
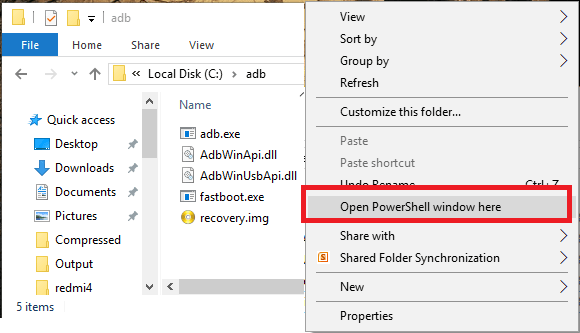
- Click anywhere into adb folder, press & hold “SHIFT” key + “Right” mouse click + select “open command window here” or “open powershell window here” option as shown in screenshot. Don’t close it, we will use it in next step.
- Again come to the device and enable USb debugging & OEM Unlock
Again Go to phone “Setting” >>”Additional Setting” >>> “Developer Option” >>> Enable USb Debugging & OEM Unlock
- Connect the device with pc via USB cable.
- Boot device into Fastboot / Bootloader Mode using below adb command
adb reboot bootloader
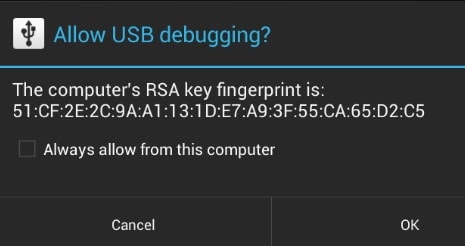
If you see a popup on phone screen to allow USB debugging, click on “OK” or “ALLOW”.
Above command will boot device into fastboot mode automatically. If not then use below manual method.
Power Off >> Press & Hold Volume Down key + Power Key Together at the same time until you see the new poco f1 fastboot logo

- Again go to command window and flash twrp recovery on Poco F1 by executing the below command.
[Command will flash new custom TWRP recovery on the device within few seconds]fastboot flash recovery recovery.img
- In next step, execute the below command to boot device into newly installed twrp recovery. [Don’t reboot device into normal mode]
fastboot boot recovery.img[Command will reboot device into twrp recovery without starting android]
[PLEASE NOTE: If You See The Screen For Password, No Need To Do Anything. Just Cancel It.]
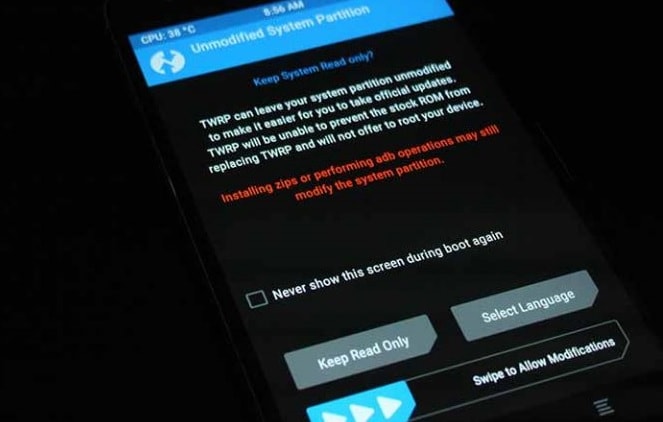
- At first boot, it will show the below screen to choose “Keep Read Only” option or “Swipe to allow modification” option. You may choose anything but we recommend you to select “Keep Read Only” option and go for next step.
- This time device should be into main menu of twrp recovery.
- Install Force Encryption disabler: TWRP recovery already installed but it will remove again without flashing Install Force Encryption disabler zip For this, tap on “Install” option from main menu, browse the “Install Force Encryption disabler Zip file [DisableForceEncryption_Treble.zip]” and “swipe to flash” from next screen.
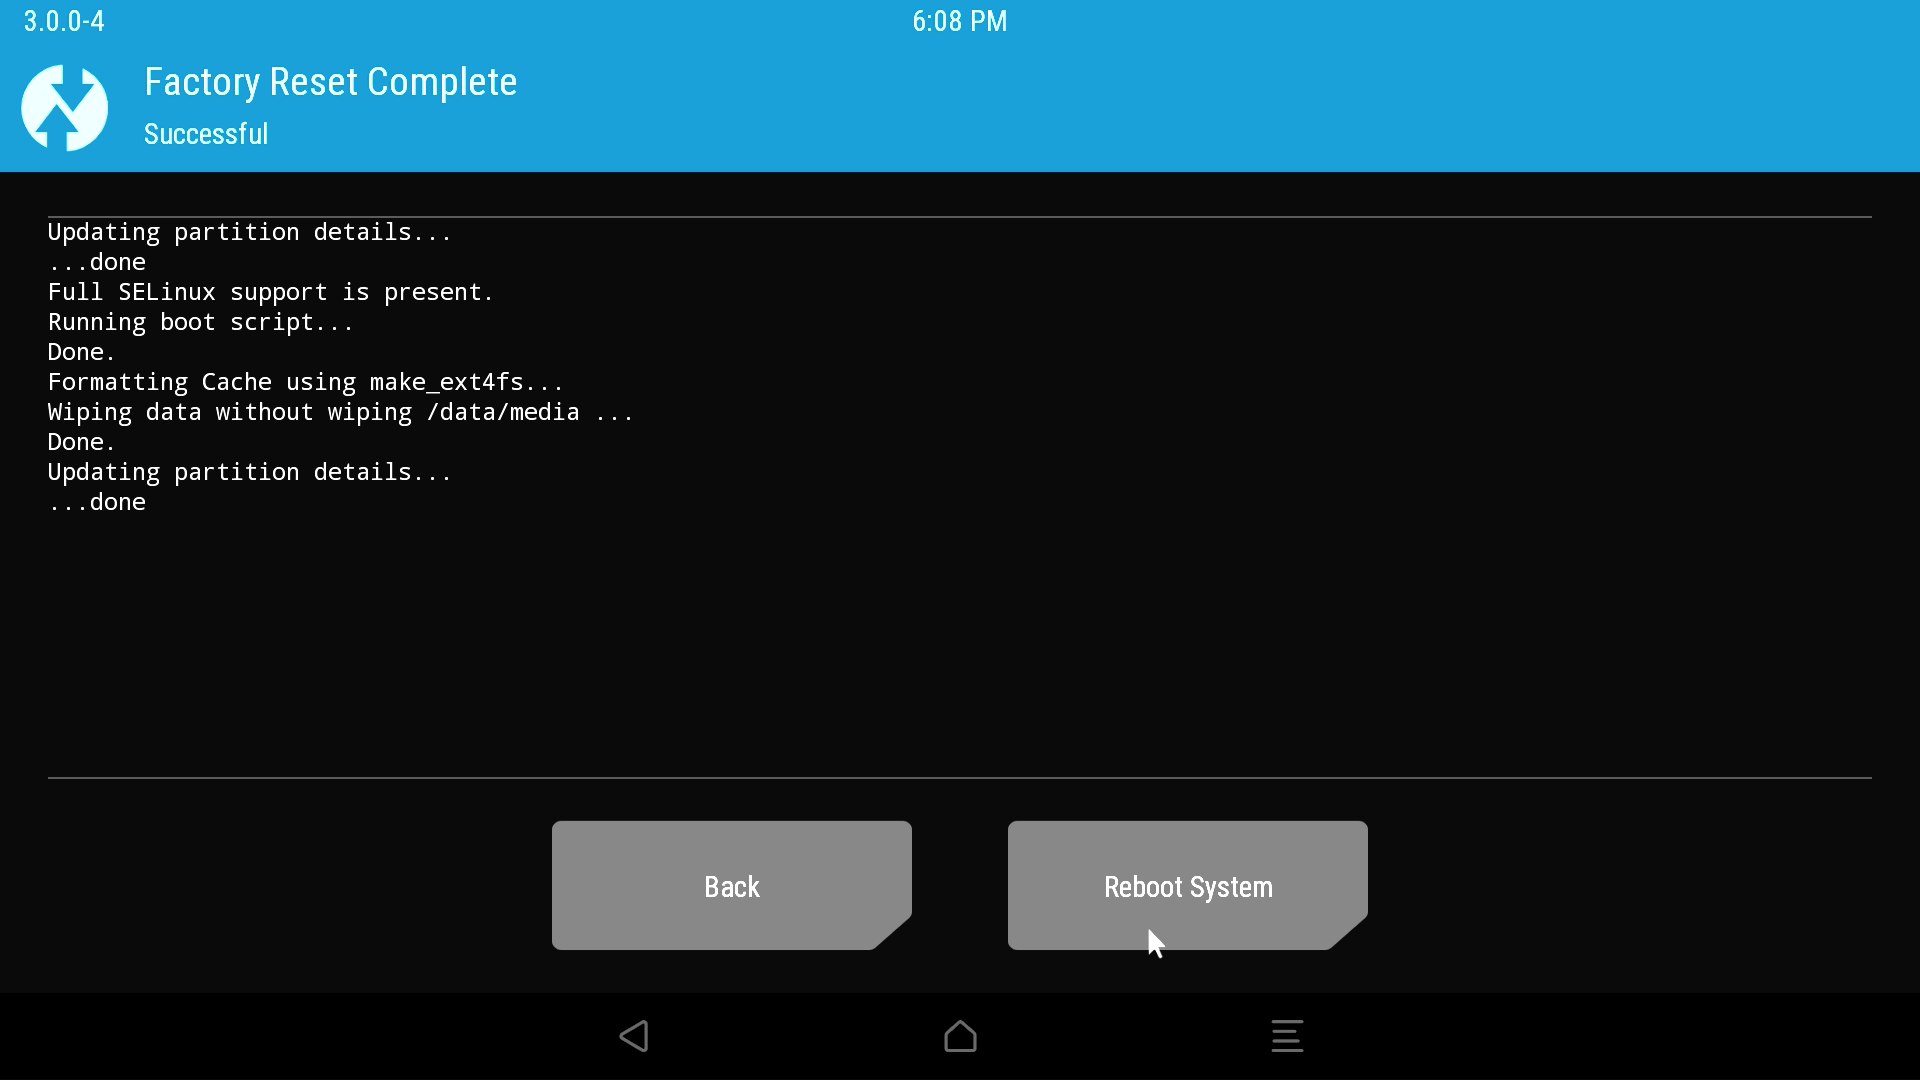
- Tap on “wipe” option, click on “FORMAT DATA” option >> Type “Yes” – This process is must and will wipe all user data and phone data completely.
- Done!!! TWRP recovery installed on Poco f1 successfully and you can reboot the device by clicking on “Reboot System” >> “Do Not Install” .
TWRP recovery flashing on Poco F1 / Pocophone f1 completed here. In case, if you want to root device then continue the next process.
[C] Flash Magisk & Root POCO F1 Pc
It’s a system less method to root Xiaomi POCO F1 using magisk because if you have twrp recovery on device then no need to use pc or laptop. In simple word, root Poco F1 without pc or computer using magsik file.
Download Magisk Zip File [Root File For POCO F1] – DOWNLOAD /
Download Magisk APK : DOWNLOAD
- First off save both magsik apk and magsik zip file into phone storage.
- Power off device and boot into twrp using key combination.
- Once the device into twrp recovery, click on “Install” and browse the “Magisk zip file [v16.7]” and “confirm to flash” it. Magisk file will take couple of minutes to flash.
- After flashing, click on “Reboot System” >> “Do not Install” option, if you don’t want to install TWRP app on the device and device will reboot automatically.
- Once the device rebooted into normal mode, go to phone storage and install “Magisk APK” and open it.
- Click on Install and choose latest version and install it.
- All Done!!! you have full root access on Xiaomi POCO F1 including TWRP recovery.
For confirmation, Go to play store, download any root checker app and verify the root access on your Poco F1 using a root checker app.
User may flash superSu exploit to root any device including Xiaomi Poco F1
This is all about “poco F1 TWRP Recovery installation and rooting procedure”. Once you have full root access on your own Poco f1, you are free to install custom ROM, to access root required apps/apk, can install Xposed framework for tweaks 7& Tricks and also can change IMEI of POCO F1 mobile etc.
In case device is bricked in between root process, just flash stock ROM by following below guide.
Flash MIUI 10 Fastboot ROM on POCO F1
Till now getting any issue in any step, please leave your comment below.