How To Add Custom Header In Genesis Theme?

If you see Most of Genesis theme does not support header option in the appearance sub-menu.so before it just checkout does your Genesis theme support a custom header?then i will show you how you can add custom header in genesis Theme?
To check it login in your wordpress dashboard and select Appearance option and find out header option in sub-menu.
Dashboard>Appearnace>header
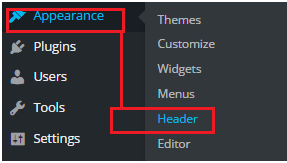
If your theme supports this custom header option then it will look like above screenshot. It means a Header option will be appear in Appearance menu.
But in other hand if your theme does not support custom header option then this “header” option will be not appear in Appearance sub-menu.you can add this “Header” option easily by adding code snippet into your Functions.php file.
Code Is Here
//* Add support for custom header
add_theme_support( ‘custom-header’, array(
‘flex-width’ => true,
‘width’ => 400,
‘flex-height’ => true,
‘height’ => 150,
‘header-selector’ => ‘.site-title a’,
) );
Copy and Add above code in your theme functions.php file and save all changes.
Note: before adding above code you can see “header” option in Genesis > theme setting. It will look like this screenshot.
![]()
But after adding the code this Genesis header setting will be removed from Genesis setting in the dashboard and new “Header” option will be appear in Appearance sub-menu.
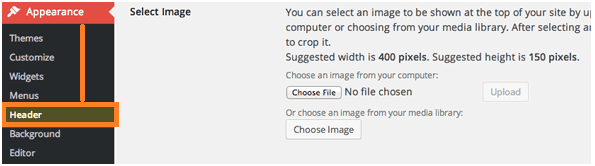
So now “Header” option is available in your genesis Theme and you can upload any image for your site and can use it as a Logo for your brand website.
It is noticeable that according the above code you can use image with a preferred size of 400x150px.it is just for example .you can set these height and width parameter according to your site.