How To Root Moto G6 Plus Oreo & Install TWRP Recovery [2 Methods]
Root Moto G6 Plus Oreo & Install TWRP Recovery [2 Methods]: Once again we here with another root guide and today we are going to share working and tested method to root Motorola Moto G6 Plus android smartphone. Just follow the below working instructions to root Moto G6 plus 2018. It’s really very easy to get root assess on Moto G6 Plus with TWRP recovery and also without twrp recovery. That means, you can choose any one Motorola G6 Plus root method from below section.
As we all know now Lenovo owned the Motorola Company but without any doubt still it’s launching excellent devices for Moto mobiles lovers. Which is apparent in the Moto G series.
Latest Moto G6 and Moto G6 plus both are latest addition of year 2018. Both devices are formidable mid-range devices of 2018. But if you are an advanced android user and love to customize the device for different android tweaks and tricks then rooting is must for you. Root access on any device, allows user to take advantages of the device with full potentials. Once you have root access on the device, you can modify the devices in your own way like can install custom to experience different android version, can apply different mods which are not allowed on non-rooted devices. Same as you can change IMEI number of the device, device ID and android version too. Yes, these entire tasks can be performed after getting root access only. Because, officially manufacturer never allow you but after root no one can’t limit you.
So we always recommend rooting the device to use it WITH FULL POTENTIAL. For this reason, today we are going to share safe method to root Moto G6 Plus mobile. Best thing is that, it’s completely safe and tested root method for Moto G6 Plus android OREO 8.0 device.
This tutorial is only and only for Moto G6 plus Oroe android mobile. Don’t try to flash root files and other patch files on any other Moto devices like Moto G6 & Moto G6 Play. Unsupported root files flashing may brick the device permanently.
Important Points Before Root Moto G6 Plus Oreo 8.0
Before jump into Moto G6 Plus root process, it’s must to know that we are sharing two different methods to get root access on Moto G6 Plus mobile. First one is, root Motorola Moto G6 plus with custom TWRp recovery and second is, root Motorola G6 plus Oreo without installing twrp recovery.
But most important thing is that, bootloader of the device must be unlock. Otherwise, there is no any way to root Moto G6 plus without unlock bootloder. Bootloader is a security lock of the device and it helps to secure the system files.
In simple words, we can’t apply any changes or modification on the device without bootloader unlocking.
Don’t worry, bootloader unlocking will not harm your device but may void phone warranty and will remove all users data and phone data completely.
Till now want to root Motorola Moto G6 plus 8.0, unlock bootloader first by following below guide and come here again to continue the process.
Official Method: Unlock Bootloader of Any Motorola Devices
How To Root Moto G6 Plus Oreo– 2 Methods
If you are newbie user and it’s your first attempt then it’s must to know that android rooting is safe but one wrong step may brick the device permanently. So we are describing the complete root procedure with all necessary screenshots. Just follow the tutorial as it is for safe rooting.
Pre-Requirements For Moto G6 Plus Root Process
- Download and install “Moto G6 Plus” USB drivers from here. DOWNLOAD
- Download and install “minimal adb & fastboot tool” on windows pc from here.
Download & Install Minimal ADB & Fastboot Tool on Windows pc
- Enable USB debugging & OEM unlock on the device. GUIDE
Go to phone “Setting” >> “About” >> tap 7 times on Build Number
Go phone “setting” >> “Developer Option”>> enable USB debugging and OEM unlock
- Working USB cable USb cable and pc / laptop.
STEP01 Unlock Moto G6 Plus Bootloader [Official Method]
STEP02 Root Moto G6 Plus With or Without TWRP Recovery [2 Methods]
STEP01 Unlock Moto G6 Plus Bootloader [Official Method]
Bootloader unlock must be your first step before going to root any device like Motorola, Xiaomi, Huawei etc. Now a day’s most of the all latest android Smartphones come with pre-locked bootloader by manufacturer. Without unlock bootloader, there is no any chance to apply changes or modification. In the same way, you can’t root Moto G6 Plus with locked bootloader. So unlock bootloader of Moto G6 plus by following below official Method.
Unlocking bootloaderr of Motorola devices is not a difficult task. For this purpose, you have to visit on Motorola official site, apply for Motorola bootloader unlocking unique code and unlock bootloader easily.
Once you have bootloader unlocked Motorola Moto G6 plus android mobile, go for next and root Moto g6 plus without twrp or with twrp recovery installation.
Unlock Moto G6 Plus Bootloader :Universal Method
STEP02 Root Moto G6 Plus With or Without TWRP Recovery [2 Methods]
[A] Root Moto G6 Plus With TWRP Recovery – Method 01
Please Note: Till now official TWRP recovery for Moto G6 plus Oreo not available. It’s a modified Moto G6 Plus twrp recovery developed by XDA developer.
This method is little bit different from traditional TWRP recovery installation process. So read the post carefully and then apply it on your own device.
- First off all install Moto USB drivers on pc by following on screen instructions.
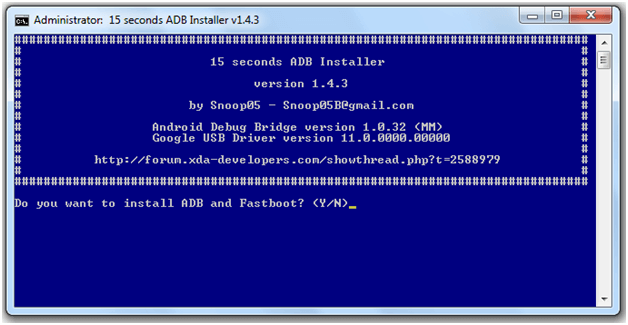
- Install Minimal adb and fastboot tool on pc by following below guide.
How to install Minimal adb & fastboot Tool [15 seconds process]
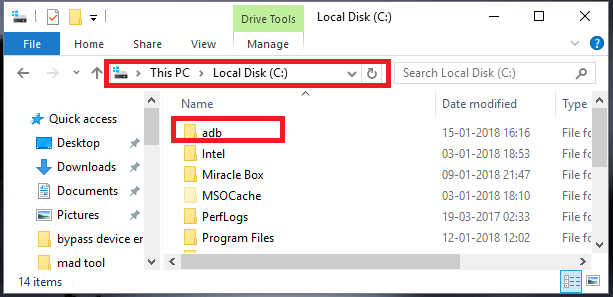
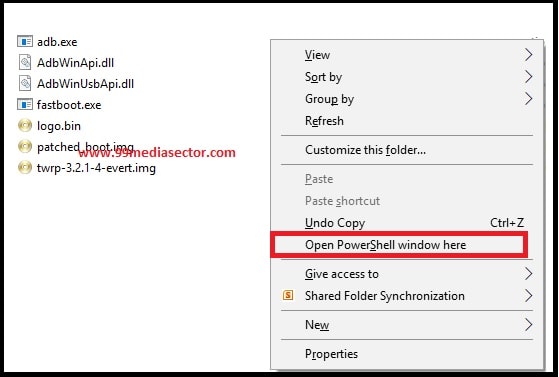
- Open “Minimal adb & fastboot” folder location My Computer >> C Drive >> ADB Folder as shown in below screenshot. [Don’t close it. We will use it again in next step]
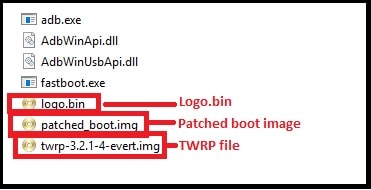
- Download Moto G6 Plus TWRP recovery file and save it into “adb folder”.
- Now download “Patched Boot.img” file and save it into “adb folder”.
- Download Logo.bin file from here to remove “Unlock bootloader” message. Extract the file and transfer it into “adb” folder.
After this it should be same as as shown below.
- Connect the device with pc via working USB cable. [make sure USB debugging and OEM enabled on the device]
- Click anywhere into “adb folder” >> Press & hold “Shift” key + “Right click” >> select “open command window here” or “open powershell window here” option. It will open a new command window on your pc.
- Type or copy the below command and hit enter to boot device into fastboot/bootloader mode.
adb reboot bootloader
- Again, execute the following command to reboot device into twrp recovery.
[Note: No need to install twrp recovery. Below command will boot the device into twrp recovery directly]
fastboot boot twrp-3.2.1-0-evert.img
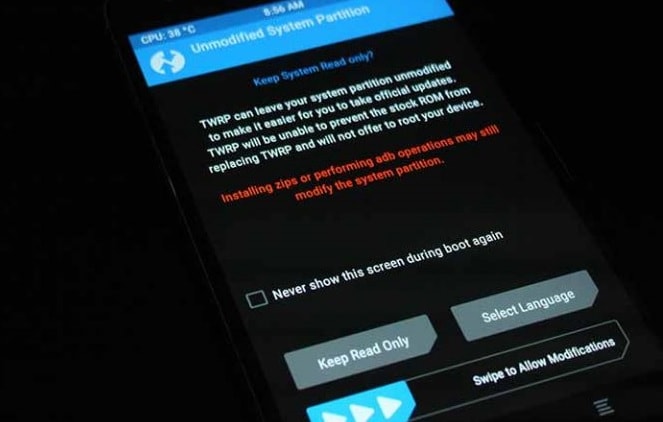
- Wait for few seconds and device will boot into TWRP recovery. At first boot, it will ask you to select “Read Only” option or select “swipe to allow modification”. Select “Read Only” option only.
- Once you are into main menu, select “Mount” >> “Mount SD Card” and push button “Disable MTP” and open ADB Shell.
- Now execute the below commands into adb shell to create backup of default boot and logo files on the external SD card.
dd if=/dev/block/platform/soc/c0c4000.sdhci/by-name/boot of=/external_sd/boot.img
dd if=/dev/block/platform/soc/c0c4000.sdhci/by-name/logo of=/external_sd/logo.bin
- Now power off your device, open SD card and copy your boot and logo backup on your pc.
- Again type the below command and execute it to reboot device into fastboot or bootloader mode.
adb reboot bootloader
- Again go into command window and execute the below two different commands on by one.
fastboot flash logo logo.bin
fastboot flash boot patched_boot-MotoG6+-OPW27.113-45.img
- Ok now, reboot the device again by following command.
fastboot reboot
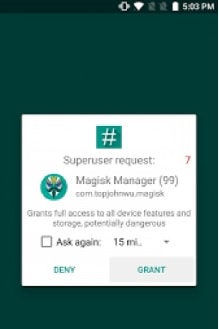
- Now download “magisk Manager.apk” file and install it on your device. [Download only apk file, no zip file]
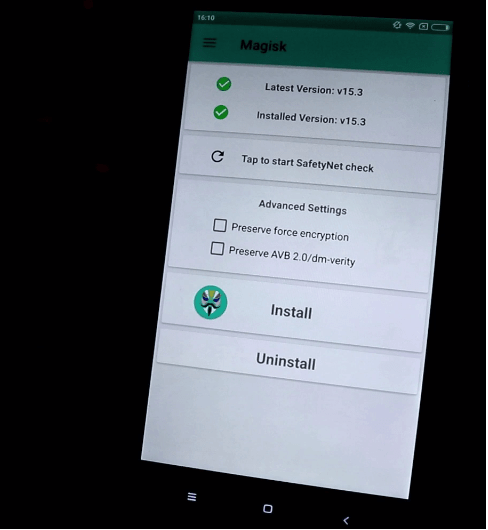
- Open Magisk app after installation, go “setting”>> Change “Update Channel” to beta.
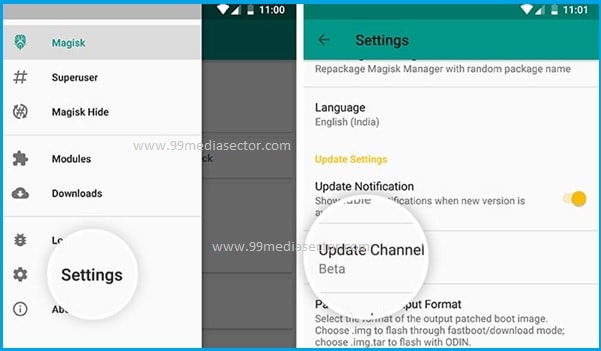
- Then in the Main Magisk select “install” and “Install” the last version (v16.4) with “Direct Install” >> reboot. [Reboot is must to apply the modifications]
All done!!! you have successfully rooted your Moto G6 plus 2018. Download any “Root checker” app from Google Play store and check root status of the device for confirmation.
[B] Root Moto G6 plus Without TWRP Recovery – Method 02
We know above rooting method is little bit difficult for newbie users. But you have another option to root Moto G6 Plus Evert, which is much easier in comparison of Method 01.
- Install “Motorola USB Drivers” on pc by following on screen instructions.
- Next, download and install “minimal adb & fstaboot tool” on pc.
Minimal ADB & Fastboot Tool Installation Guide
- Open “Minimal adb & fastboot tool” installation location.
My Computer >> C Drive >> ADB folder [Don’t close this folder]
- Download “patched_boot.img” file and move it into “ADB folder”.
- Click anywhere into “adb folder” >> Press & hold “Shift” key + “Right click” >> select “open command window here” or “open powershell window here” option. It will open a new command window on your pc.
- Enter the below command and boot device into fastboot mode.
adb reboot bootloader
- Again execute the below command to flash patched boot img file.
fastboot flsh boot patched_boot.img
- After flashing, type the below command and hit enter. It will reboot device into normal mode.
- Don’t unplug the device from pc. Download Magisk apk file, copy it into phone storage and install it on Moto device.
- Done!!! device is rooted now.
This is all about “how to root Moto G6 plus with twrp and without twrp recovery?” Just read the tutorial first and use anyone method to get root access on Moto G6 plus Oreo 8.0.
Till now getting any issue in any step, please notify us by leaving your comment.